
Printing documents should be seamless, but sometimes your printer doesn’t behave as expected. Setting up a default printer ensures every print job goes to the right device automatically. Whether you have multiple printers at home or in the office, configuring default printer settings saves time and reduces errors.
This guide explains how to configure default printer settings in Windows, including advanced tips and troubleshooting tricks.
What Is a Default Printer?
A default printer is the printer your computer automatically selects when you hit “Print” without specifying a device.
Benefits of configuring a default printer:
Avoid selecting the printer manually each time
Reduce printing errors or sending documents to the wrong printer
Streamline workflows in offices or home setups

How to Configure Default Printer Settings in Windows
Windows provides simple methods to set your default printer. Follow these steps:
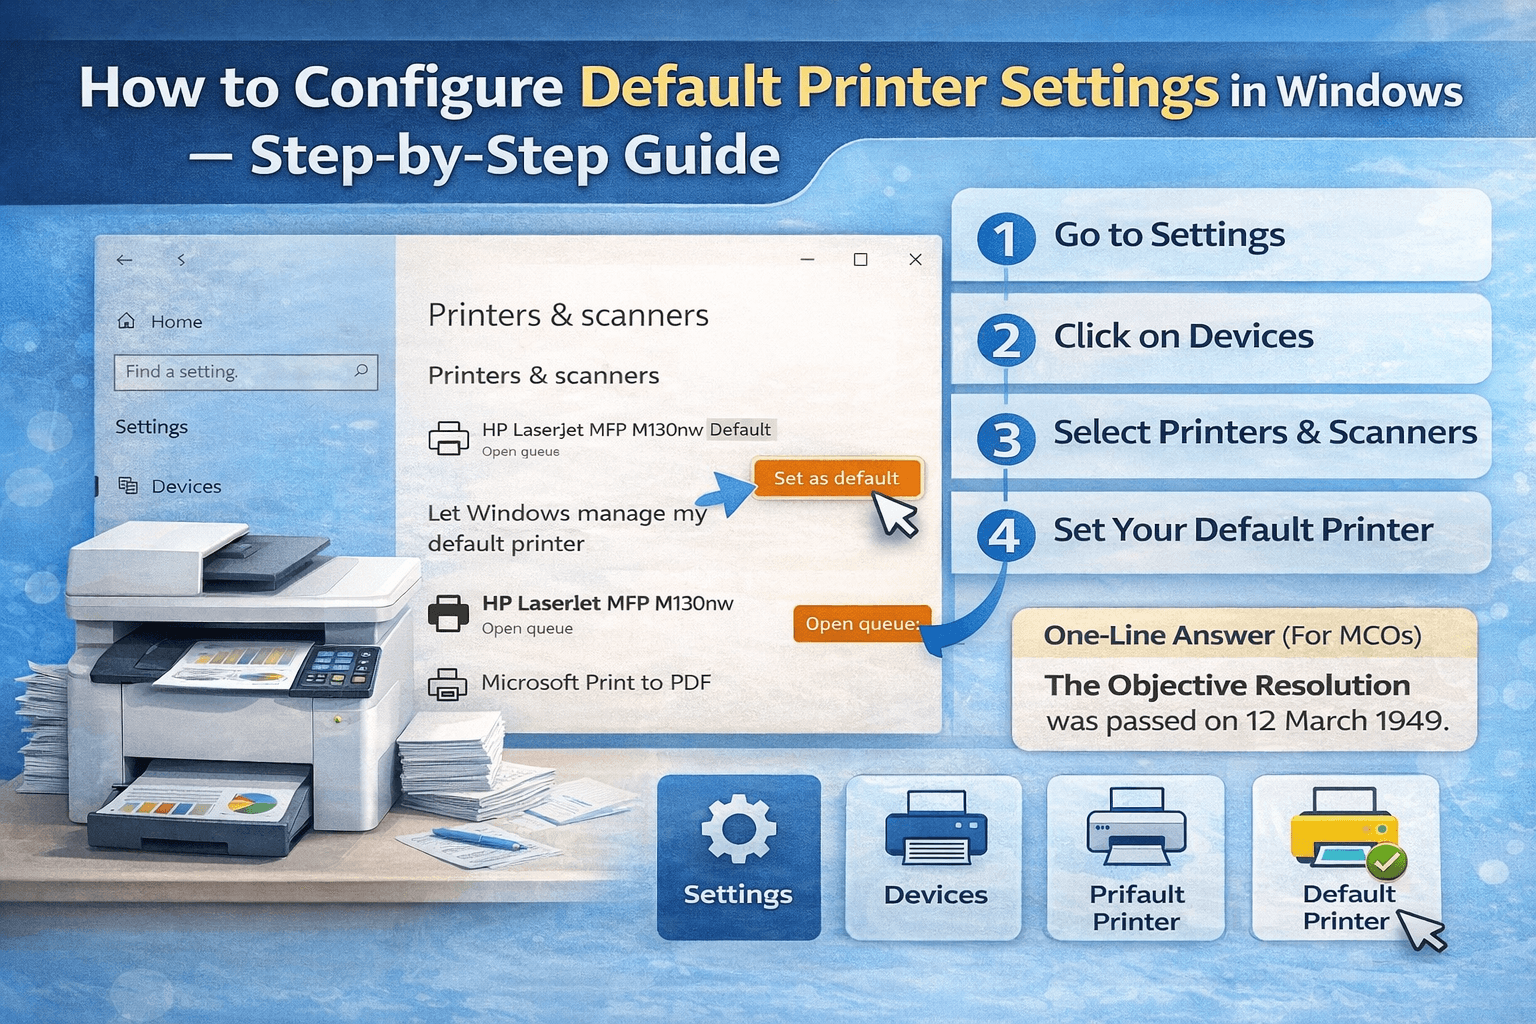
Method 1: Using Windows Settings
Press Windows + I to open Settings
Click Devices → Printers & scanners
Find your desired printer, click it, and select Manage
Click Set as default
Tip: Turn off “Let Windows manage my default printer” to manually choose your preferred printer.
Method 2: Using Control Panel
Press Windows + R, type control, and press Enter
Go to Devices and Printers
Right-click your printer → Set as default printer
A green checkmark indicates the default printer
Imagine sending an urgent document to the wrong printer! Setting a default printer prevents this nightmare.
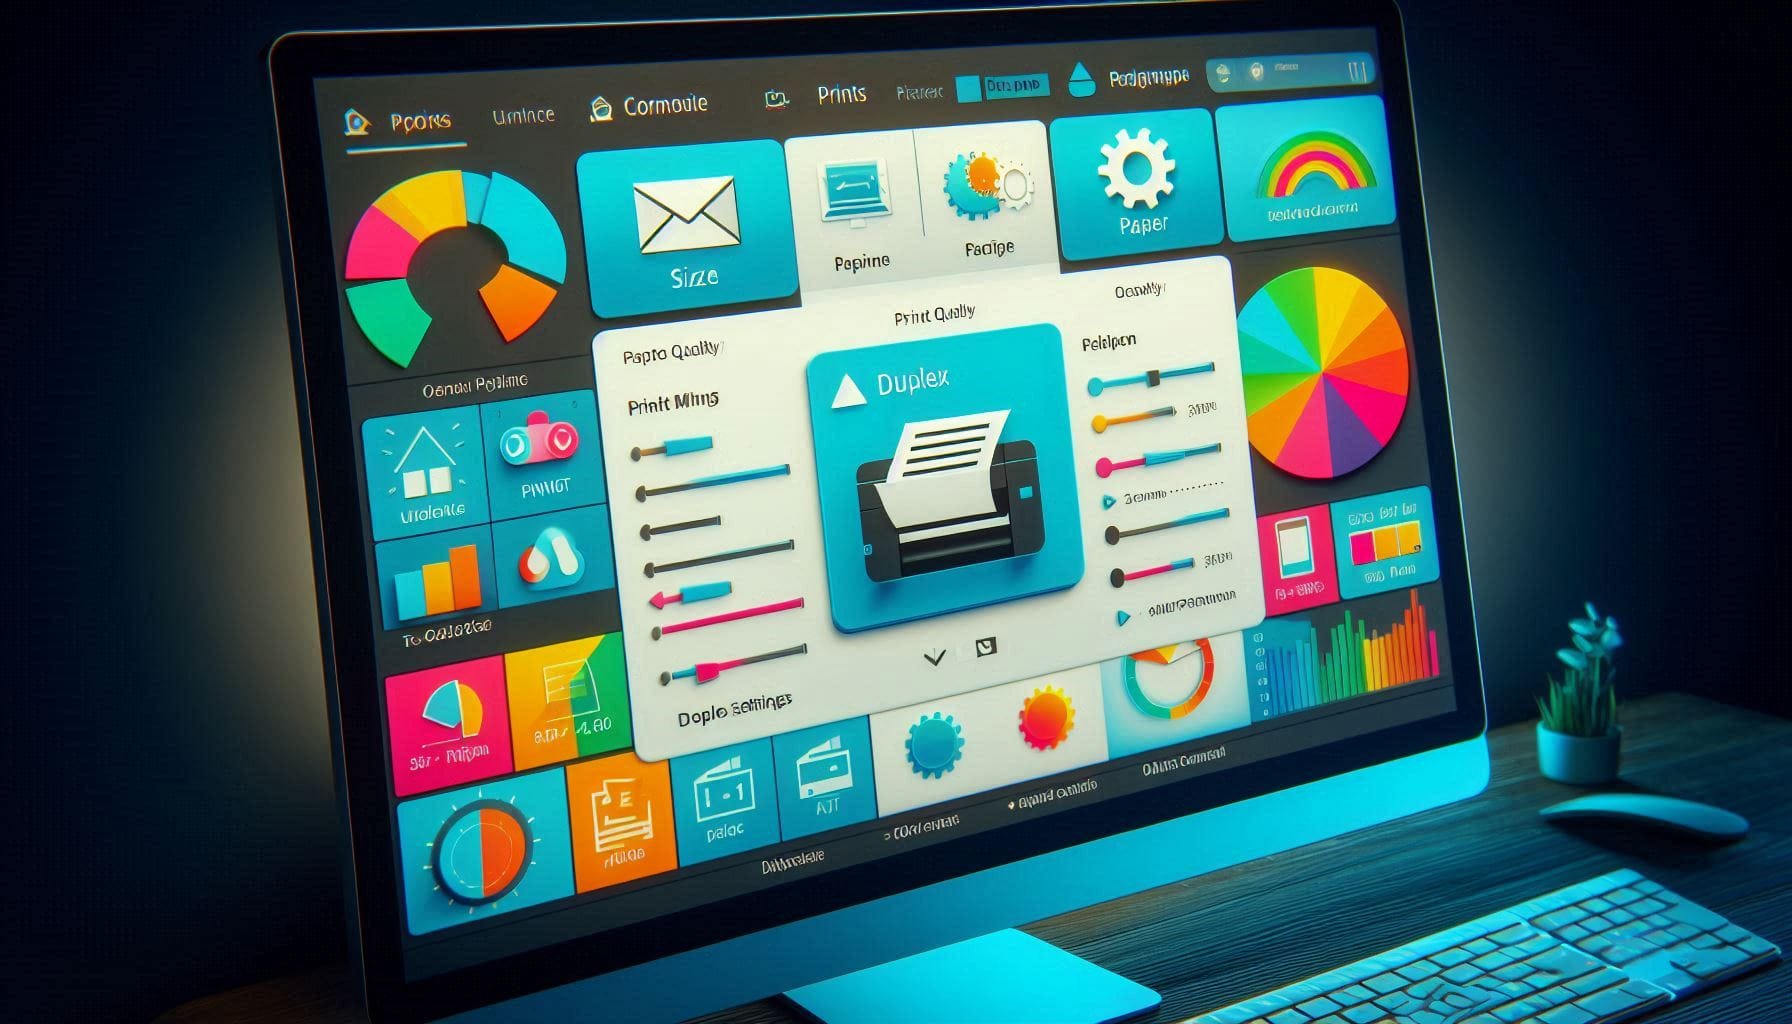
Configuring Advanced Default Printer Settings
Beyond selecting a default printer, you can configure additional settings:
Paper size and type – choose letter, A4, or legal
Print quality – draft, normal, or high quality
Duplex printing – enable double-sided printing
Color preferences – black & white or color printing
Troubleshooting Common Default Printer Issues
Even after configuring, you may face problems. Here’s how to fix them:
Printer not recognized – update printer drivers or reconnect via USB/Wi-Fi
Wrong printer selected automatically – disable “Let Windows manage my default printer”
Printing errors – clear print queue and restart printer
Tip: Always ensure your printer drivers are up-to-date to avoid unexpected issues.
Best Practices for Default Printer Configuration
Keep only the printers you frequently use visible in the settings
Regularly update printer drivers for better performance
Use meaningful printer names for easy identification
Check default printer settings after major Windows updates
A misconfigured default printer can delay urgent work or printing important documents at the last minute.
Way Forward for Configure Default Printer Settings:
Configuring default printer settings in Windows is a simple but essential task for seamless printing. Whether for home or office, it ensures your print jobs go to the right device, saves time, and minimizes errors. By combining default printer selection with proper settings like paper type and print quality, you can enjoy hassle-free printing every time.


Pingback: Connect to Wi-Fi Using a QR Code on Windows: Complete Guide